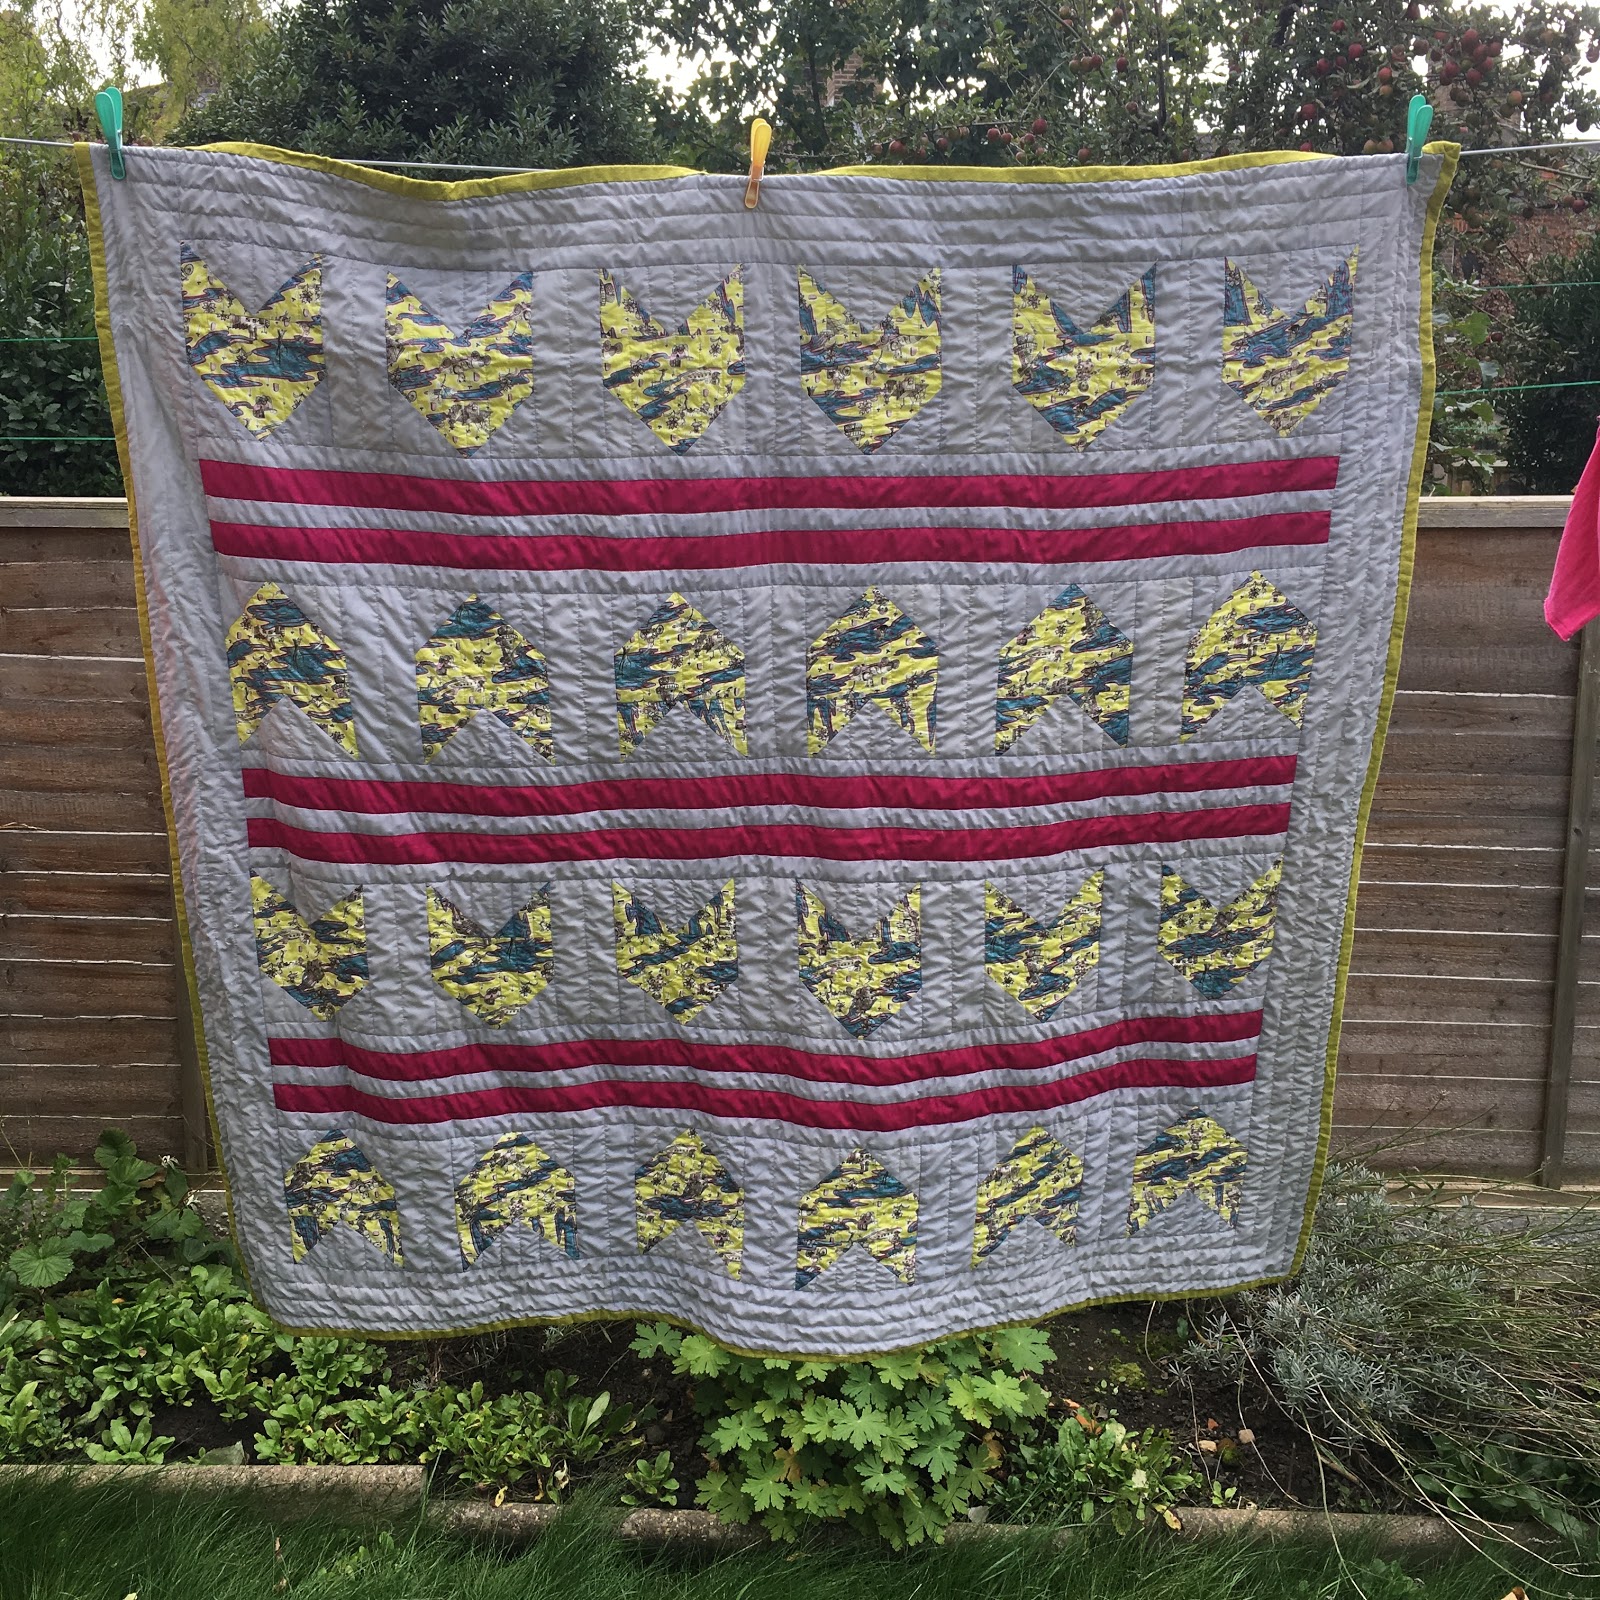
I am so pleased I can finally share this quilt - pleased because it's been received and liked by its new owners, and also just pleased because I finally finished it! This one was a long time in the making. This is my second time using the Bow & Arrows quilt pattern by Suzie Quilts but my first time ever making a larger quilt as up until this I had only made baby quilts. All the stages - cutting, piecing, quilting and binding, took longer due to the size but the main reason it took longer was overcoming the nerves about quilting a full size quilt. I just kept putting it off, partly nerves about ruining it but also just a bit overwhelmed by the sheer size of quilting it on my domestic machine in my little sewing space under the stairs. Once I got started the quilting though I actually really enjoyed it.
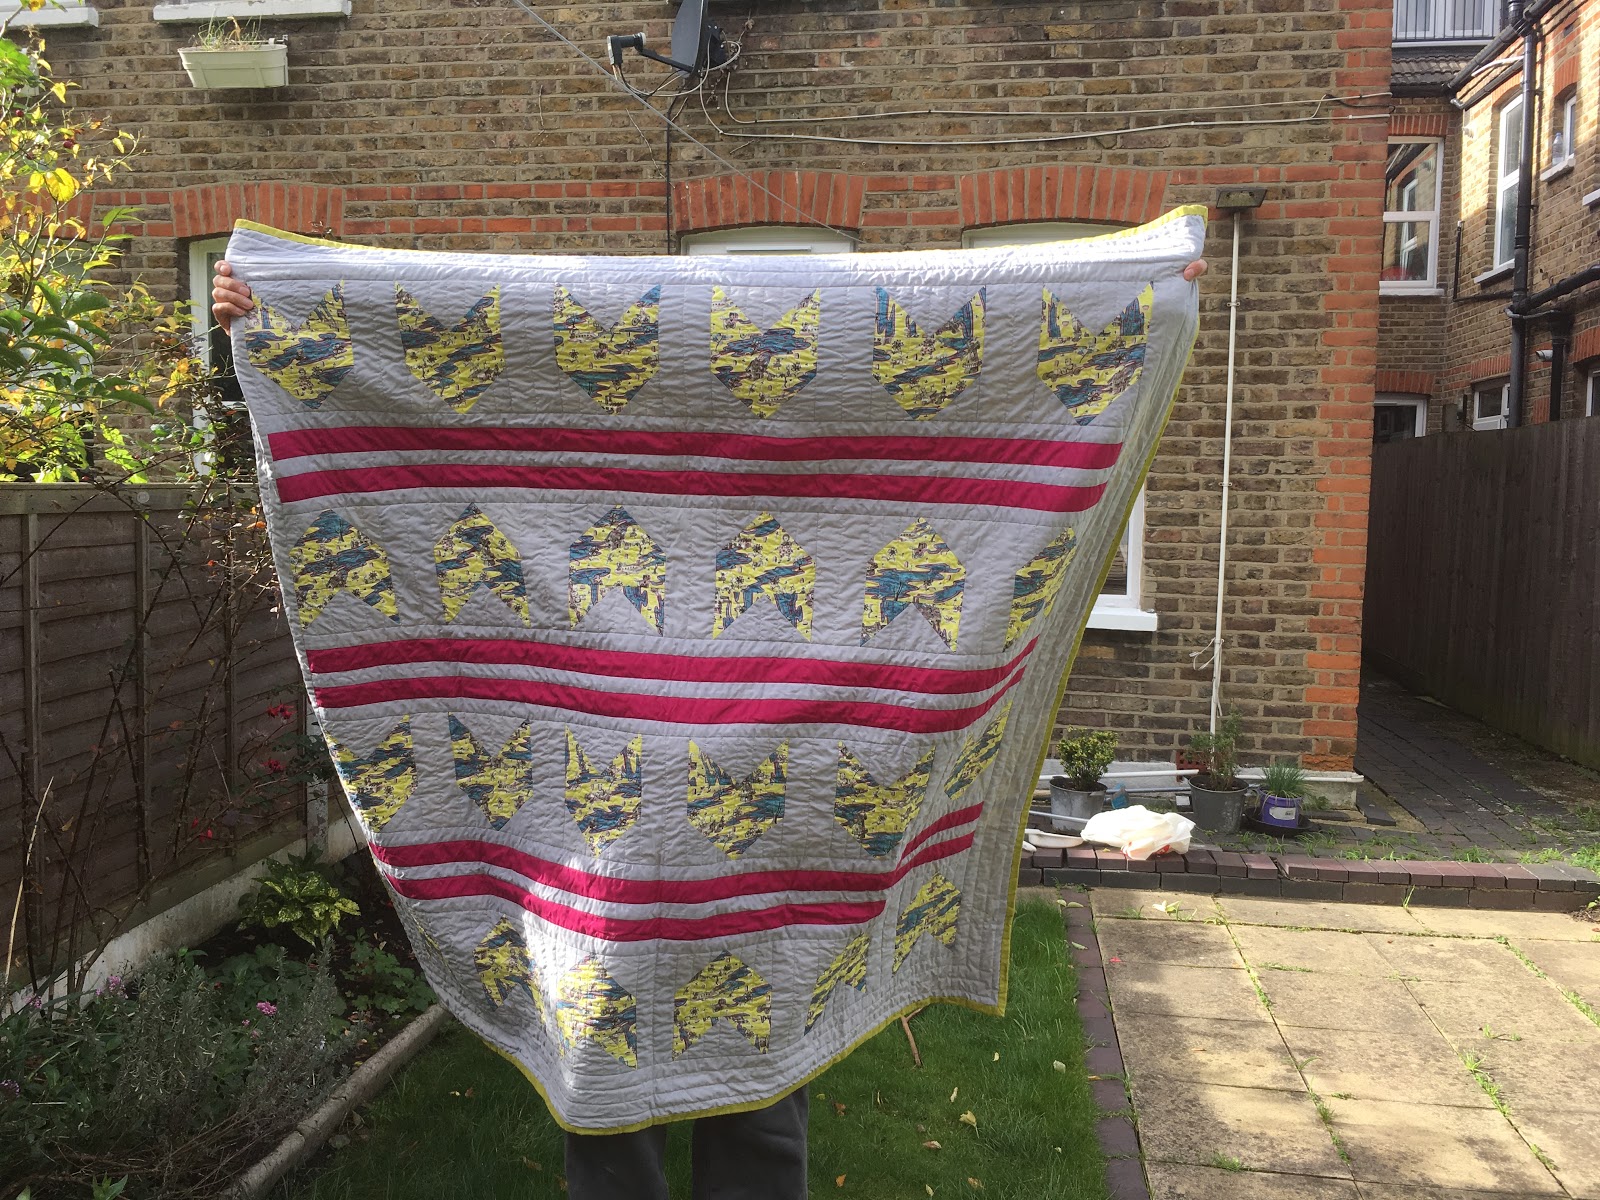
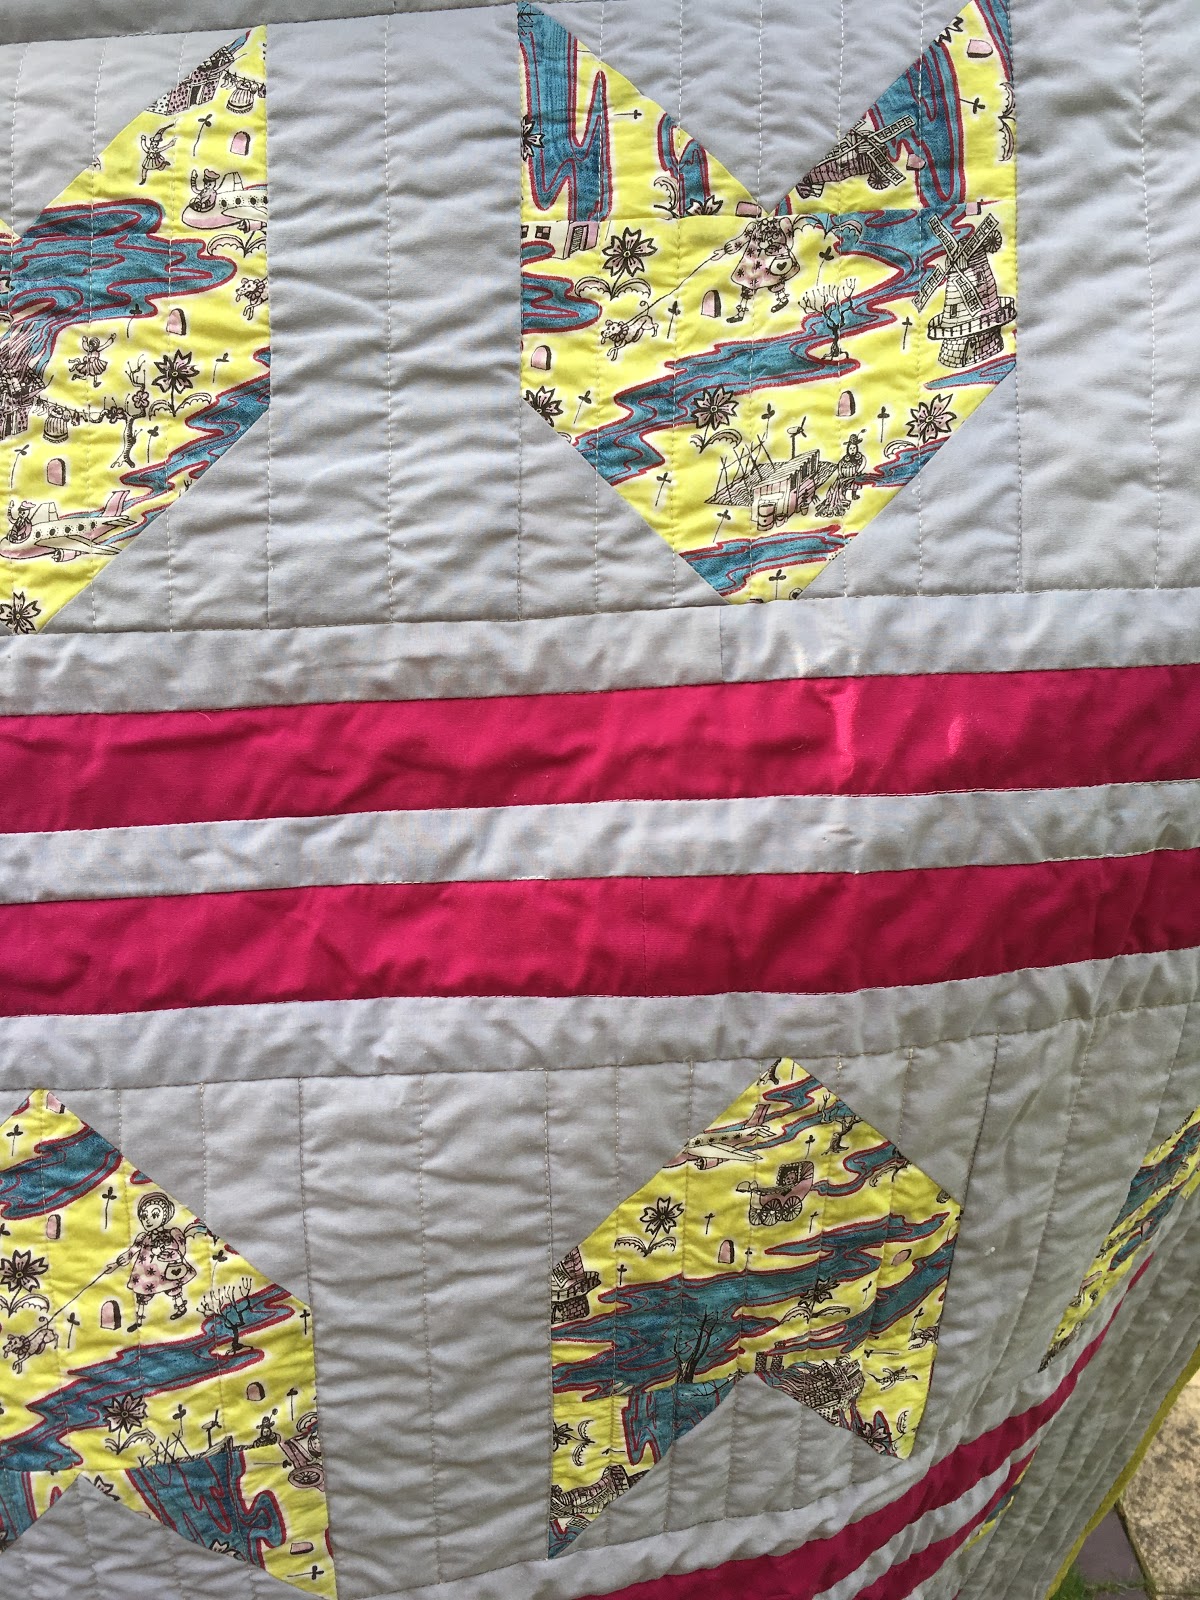
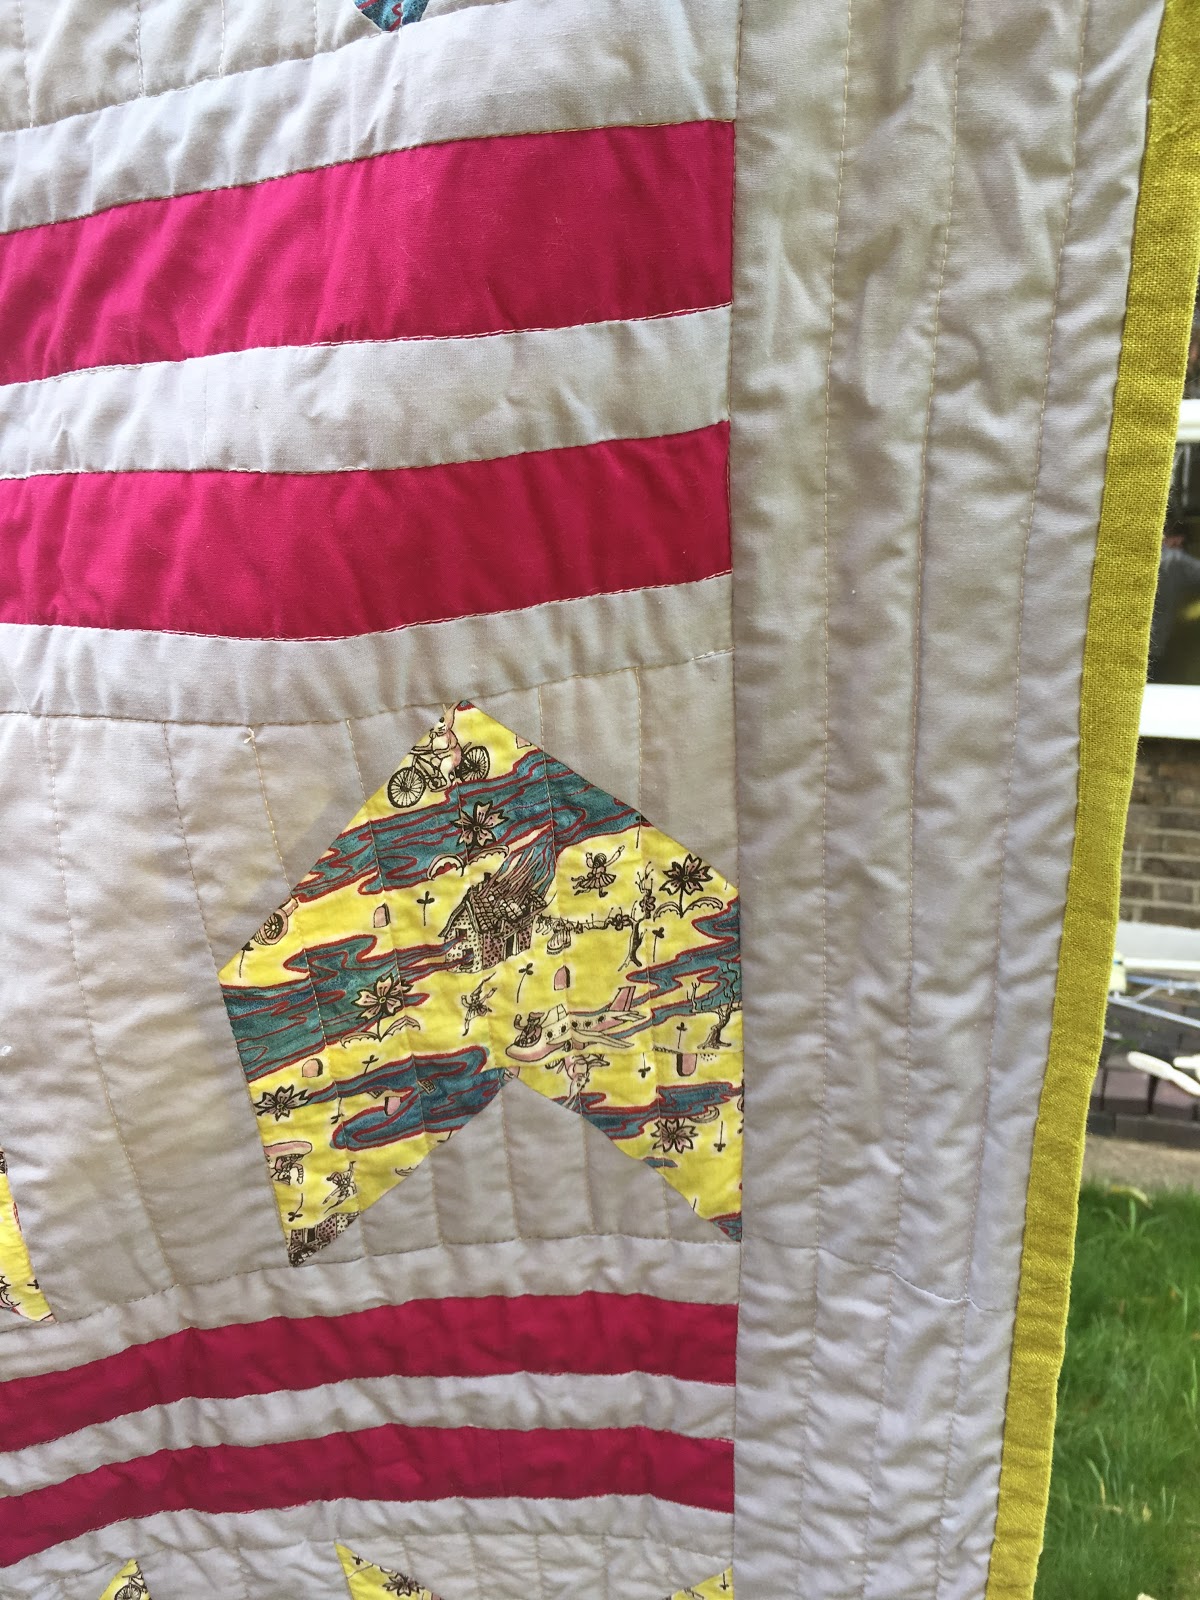
This quilt was a wedding gift for a very good friend of mine. She introduced me to the art of Grayson Perry years ago as she is a big fan and we have been to see two exhibitions of his work together as well as going to hear him talk at the British Museum, so I knew I wanted to use this fabric. The fabric is a design by Grayson Perry for Liberty and was a gift to me from a friend who had acquired lots of fabric from somewhere but didn't use it and was doing a clear out. The grey and pink were fabric I already had in my stash which luckily just tied in. The beautiful backing & binding fabric is Robert Kaufman Essex yarn dyed linen in pickle and I bought 2 metres for this project (I still have some left, hopefully enough for a summer top!)
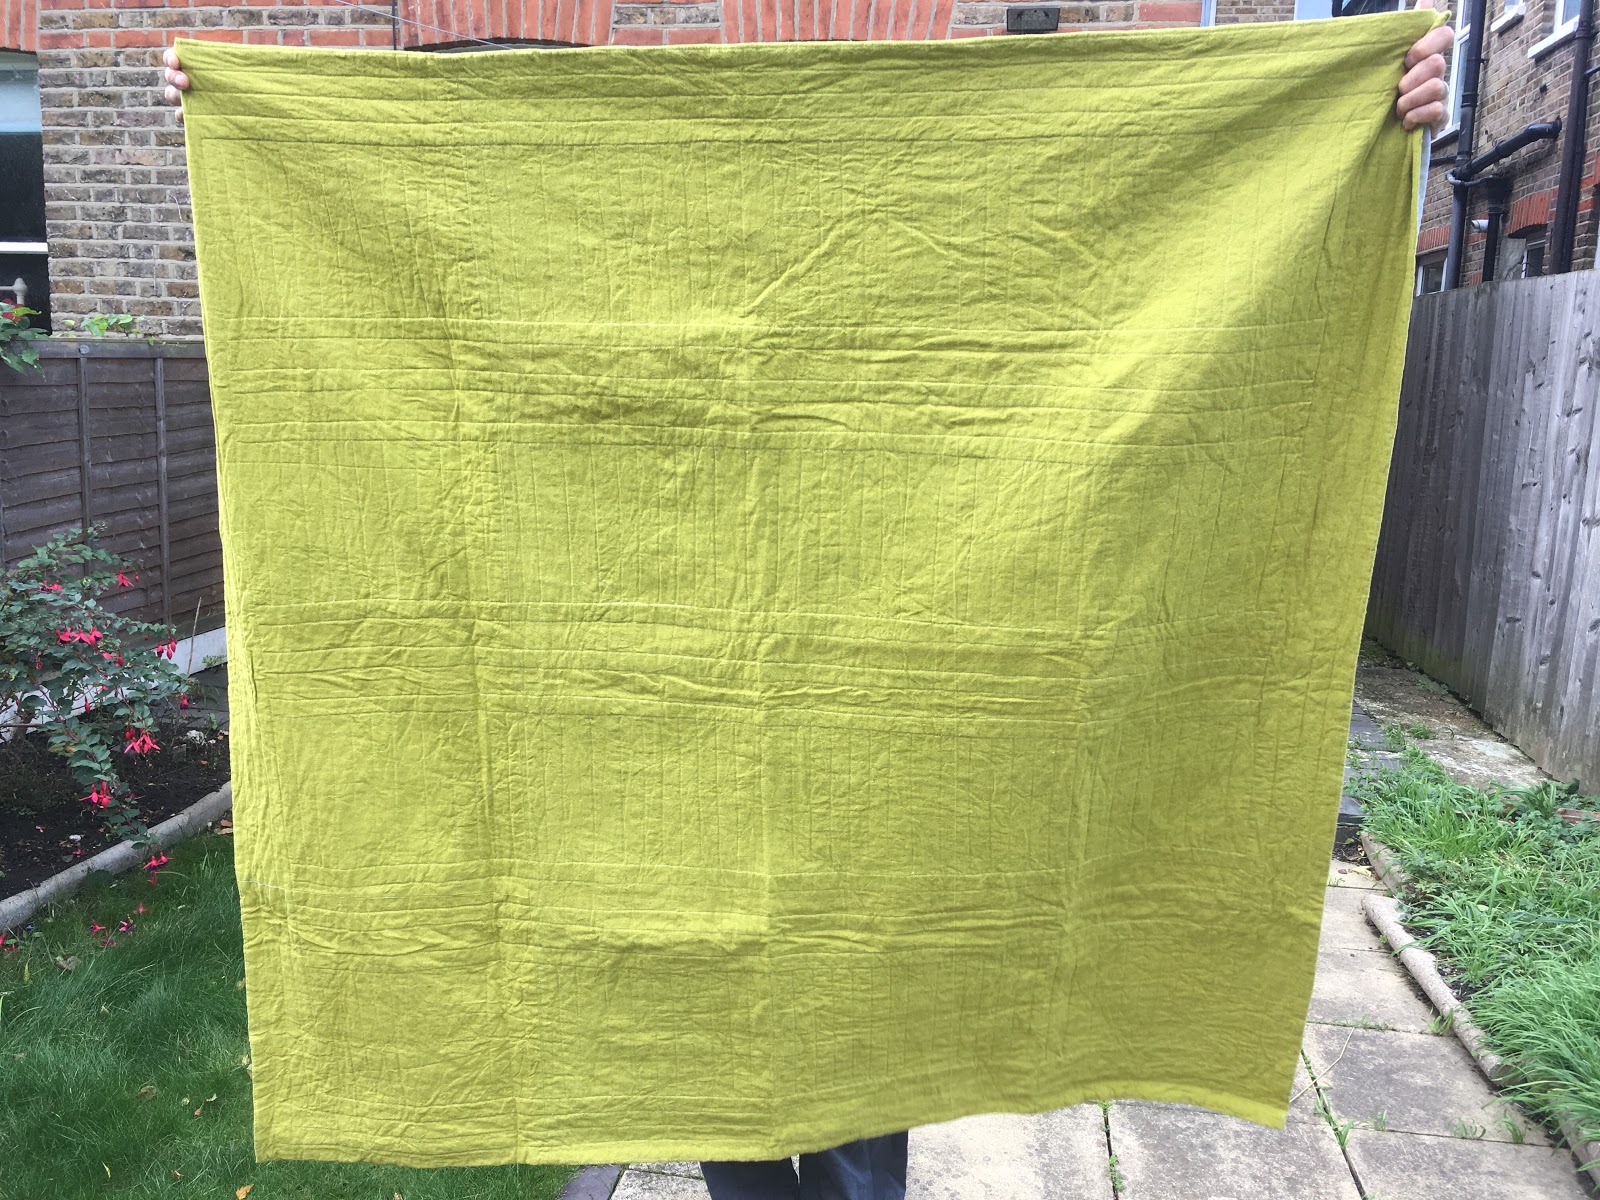 |
| Essex yard dyed linen quilt backing |
I just followed the pattern exactly, using the no-waste method for flying geese. I couldn't decide what colour to bind it with as initially I thought I'd use the pink but then decided this could make it look a bit boxed in or small. Then I realised I had enough of the lime green/chartreuse linen so I just pulled the backing round to the front and sewed it with a blind stitch. I used this tutorial as a guideline but I didn't want to just machine sew the binding as I don't like how this looks, and also I like finishing off a quilt with hand-sewing. Usually this involves machine sewing down the binding on the front then pinning the binding in place on the reverse then using a blind stitch. In this case I just pulled the backing round to the front then did the pinning and blind-stitch on the front of the quilt. To me this final stage of hand-sewing feels like a nice way to say goodbye to a quilt!
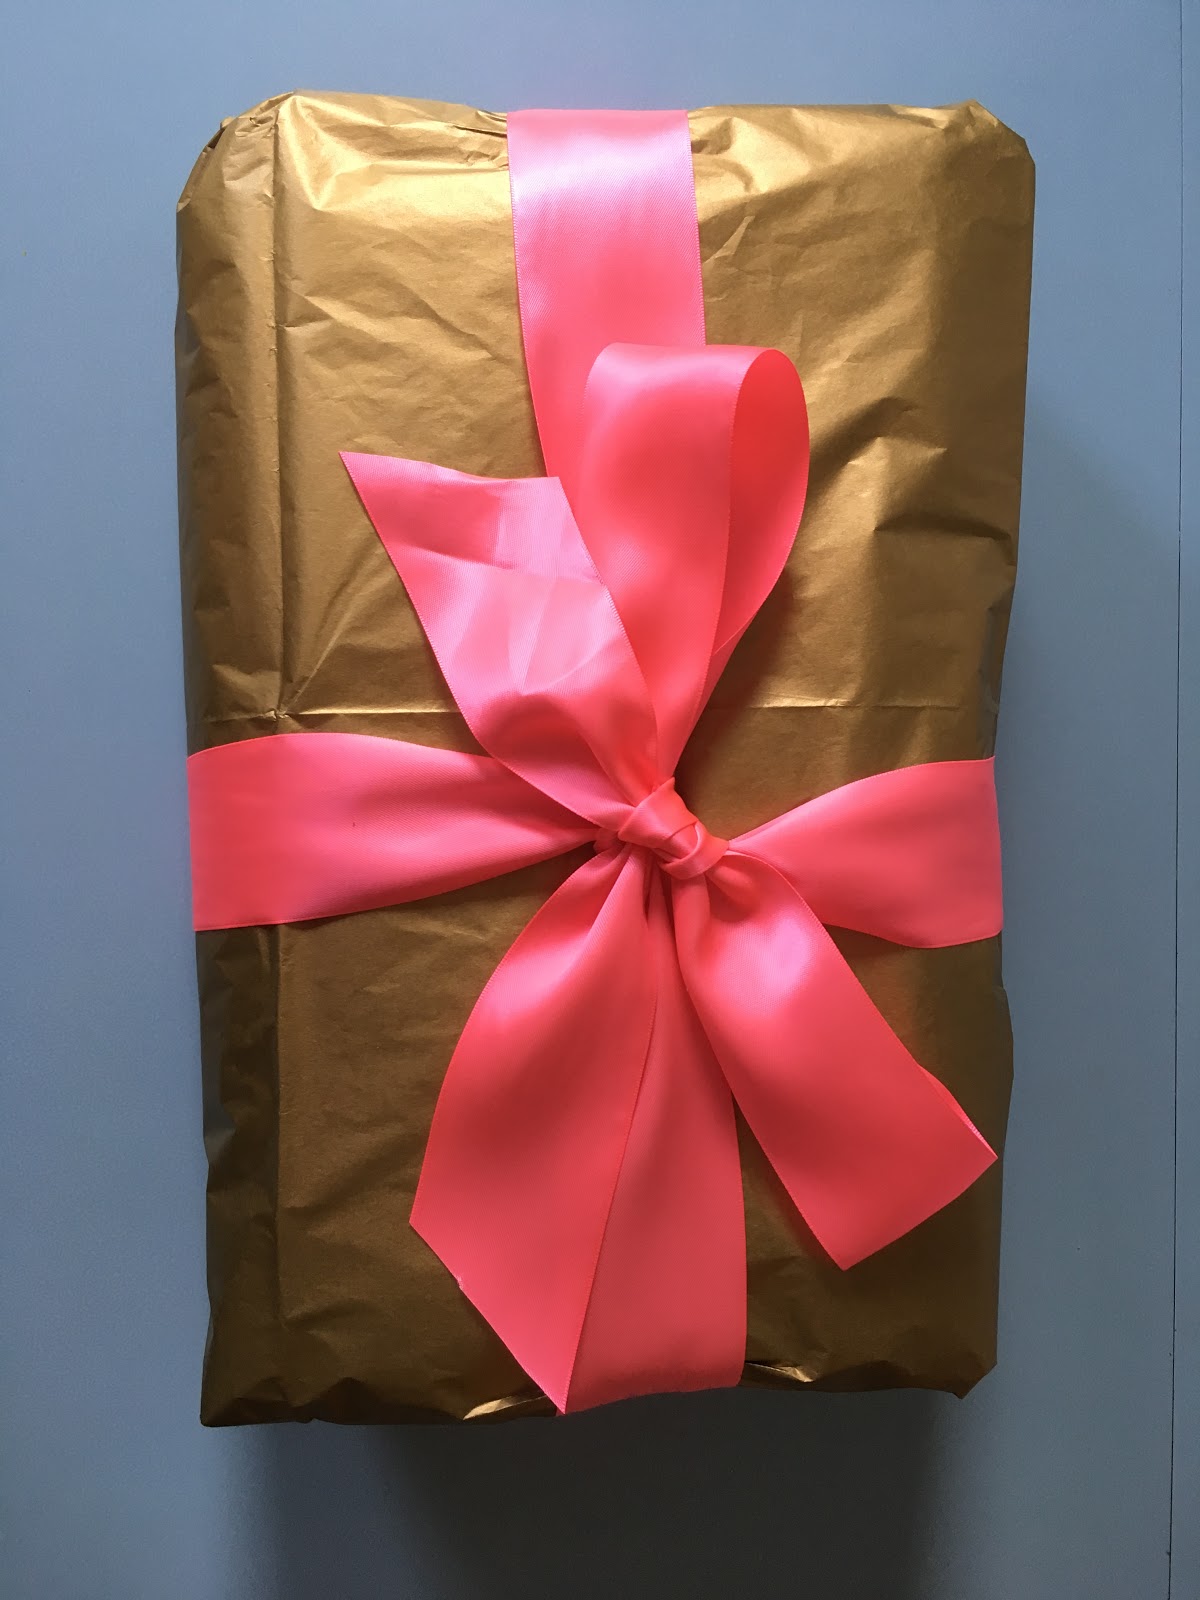 |
| all packed up & ready to post |